The Process: How I Approach Designing Digital Products
This blog outlines my product design process, from research and ideation to prototyping, visual development, and final handoff, showcasing how I approach problem-solving, iteration, and user-centered design to create meaningful and impactful products.

Nov 18, 2024
·
20
min read
Overview
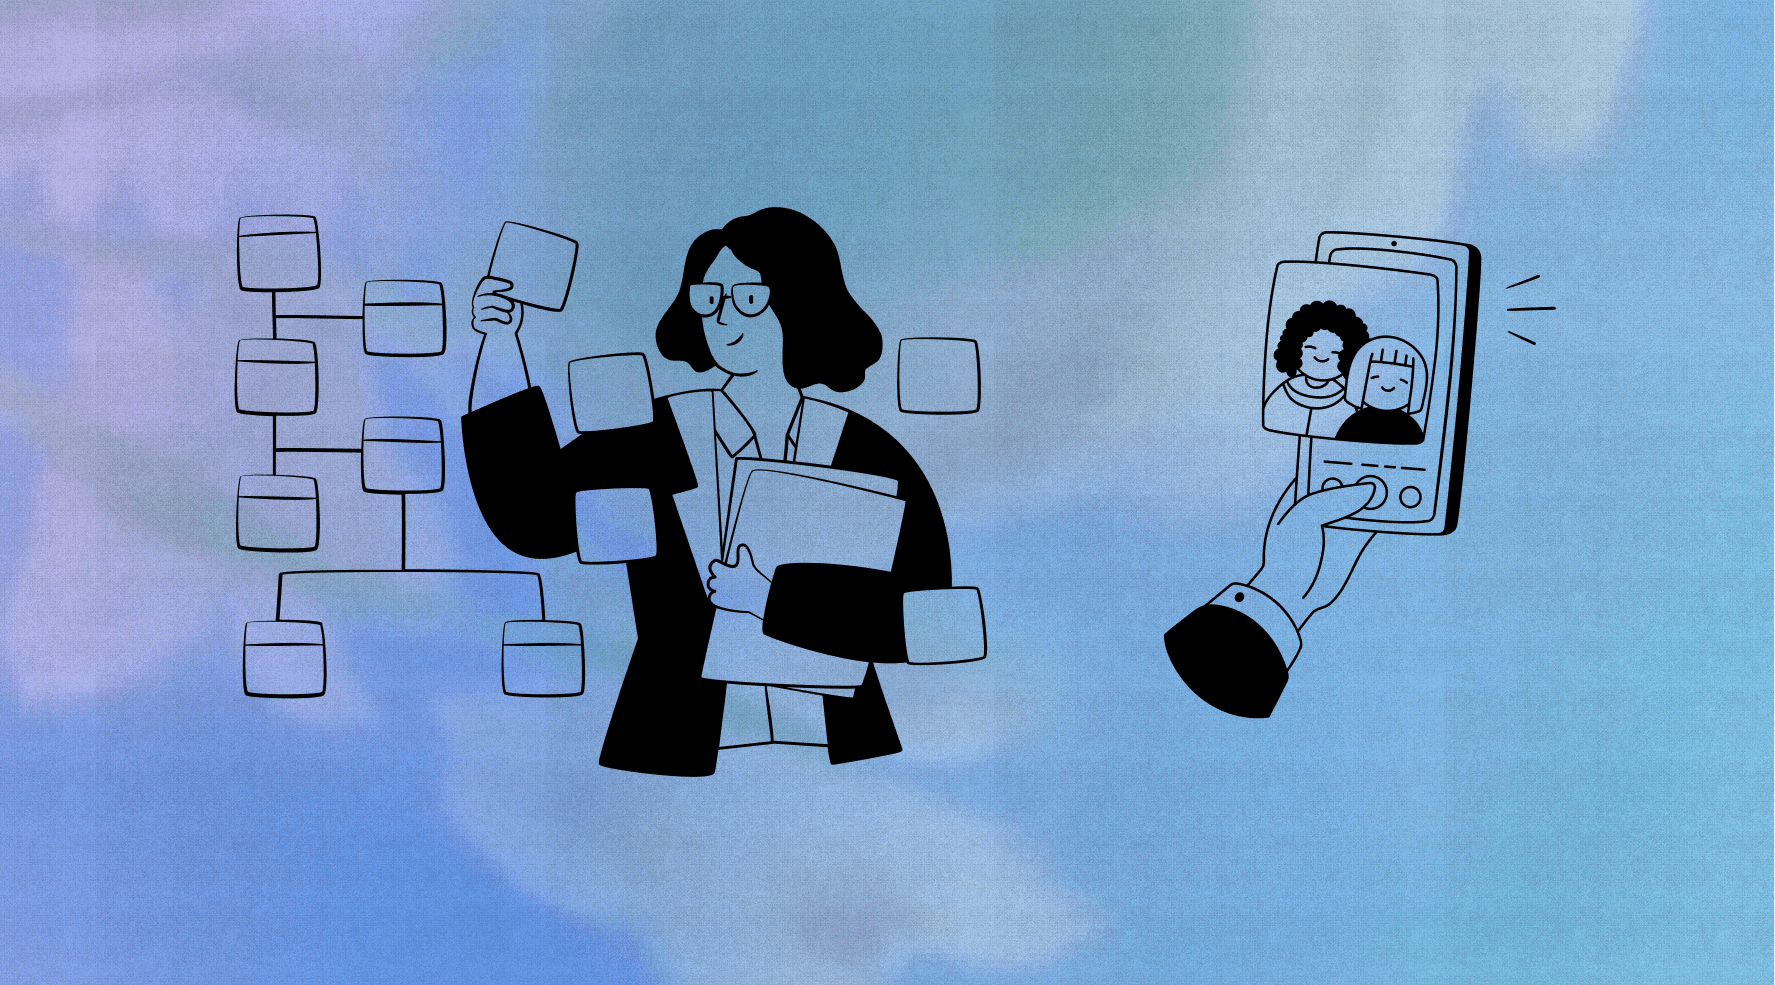
Designing a great product isn’t just about aesthetics—it’s about understanding problems, solving them effectively, and creating seamless experiences. Over the years, I’ve developed a structured process that helps me make informed design decisions, ensuring that what I build is intuitive, functional, and scalable.
A strong product design process isn’t about blindly following steps; it’s about having a framework that adapts to each project while keeping the user at the center. In this post, I’ll walk you through my design process, from research and ideation to prototyping, visual design, and development handoff, and why each phase is critical to creating a successful product.
Research & discovery
Every project starts with understanding the problem—not just at a high level, but deeply enough to create a meaningful solution. The research and discovery phase sets the foundation for everything that follows.
I begin by analyzing the client’s project brief, ensuring I understand the business goals, constraints, and key expectations. But a project brief is just a starting point—the real insights come from problem identification. This involves breaking down users' pain points, recognizing gaps in existing solutions, and defining what success looks like.
From there, I conduct market research—examining competitors, industry trends, and technical feasibility to ensure that the product fits within its ecosystem while offering something unique. Just as importantly, user research (via surveys, interviews, or behavioral analysis) gives me direct insight into the audience I’m designing for. This data-driven approach prevents assumptions and ensures that I’m solving real user problems.
By the end of this phase, I have a clear roadmap that aligns business objectives, user needs, and market opportunities, setting the stage for concept development.
Defining the problem
Once the research is complete, the next step is to define the problem clearly. Without a well-defined problem, even the best design work can become unfocused.
I start by crafting a problem statement—a concise, user-centered definition of the issue we’re tackling. A strong problem statement highlights the gap between the current user experience and the ideal outcome, ensuring that design efforts remain aligned with real user needs.
To bring research insights to life, I create user personas, detailed representations of target users. These personas include demographics, behaviors, goals, and frustrations, making it easier to design with empathy rather than guesswork.
I also develop user journey maps, which help visualize how users interact with the product over time. By mapping out pain points and emotional highs and lows, I can pinpoint areas for improvement and optimize the overall experience.
This phase ensures that I’m not just designing a product—I’m designing a solution that is meaningful, relevant, and user-focused.
Ideation & concept development
With a clear problem defined, it’s time to explore how to solve it. This is where creativity and strategy come together to shape the core of the product.
I start with ideation sessions, brainstorming multiple solutions and sketching out possible interactions. At this stage, nothing is off-limits—I focus on exploring possibilities rather than refining details.
Once I have a variety of ideas, I move to feature prioritization. Not every feature needs to be built at once, so I use prioritization frameworks like the MoSCoW method (Must-have, Should-have, Could-have, Won’t-have) to ensure that development efforts focus on the highest-impact functionalities.
Next, I create user flows, which visually outline how users will navigate through the product. User flows help ensure that the experience is logical and efficient, reducing friction and making interactions more intuitive.
Finally, I define the information architecture (IA)—how content is structured and categorized. A strong IA helps users find what they need quickly, improving usability and navigation.
At this stage, the product’s core structure and interactions are taking shape, preparing the design for the next phase: wireframing.
Sketching & wireframing
Before diving into high-fidelity design, I focus on laying out the foundation with sketches and wireframes.
I start with rough sketches, quickly exploring different layouts and interaction models. Sketching is a low-cost, high-impact way to test multiple directions without getting caught up in visual details.
Once I land on a strong concept, I create wireframes, which serve as the blueprint of the product. Wireframes outline the placement of UI elements, navigation flows, and content structure, ensuring that everything is arranged in a way that makes sense for users.
This phase is all about function, not aesthetics—I focus purely on usability and efficiency, knowing that visual details will come later. Once the wireframes are validated, I move into prototyping.
Prototyping
Prototyping is where static wireframes become interactive experiences, allowing for early usability testing and iteration.
I start with a low-fidelity prototype, a basic, clickable version of the design that lets me test key interactions, workflows, and usability before refining visuals.
Prototyping is an iterative process—I test, gather feedback, refine, and repeat. By validating designs before development, I catch usability issues early, saving time and resources down the line.
Design & visual development
Once the prototype is validated, I move into high-fidelity design, where the product takes on its final form.
I begin by defining a visual style guide, setting rules for color palettes, typography, iconography, and UI elements. This ensures that the design is consistent, accessible, and scalable.
To maintain long-term consistency, I also build a design system, a library of reusable UI components that helps streamline future updates.
At this stage, I create a high-fidelity interactive mockup, incorporating real content, animations, and transitions to bring the product to life.
Usability testing
Before finalizing high-fidelity prototypes and moving into development, usability testing is a crucial step to validate key interactions and user flows. This process helps identify pain points and inefficiencies in the design before they become costly to fix in development.
Usability testing methods vary depending on the product and audience. A/B testing can compare different design variations, while moderated user testing allows researchers to observe users in real time. Unmoderated testing, using tools like UserTesting or Logrocket, provides quick insights from a broader audience. Heatmaps and click tracking can also reveal interaction patterns and areas of friction.
The goal of this step is to refine the design based on real user behavior, ensuring that navigation, accessibility, and usability are optimized before development. Iterations made at this stage result in a smoother development process and a more user-friendly final product.
High-fidelity prototyping
The high-fidelity prototyping stage is where the product design reaches its final, polished form, bridging the gap between design and development. This step involves refining and finalizing the product by incorporating realistic visuals, interactive elements, and accessibility considerations to create an experience as close as possible to the finished product.
At this stage, I conduct multiple iterations to perfect the user interface and interactions. Every detail, from button responsiveness to animations and micro-interactions, is fine-tuned to ensure smooth usability. User feedback and internal reviews continue to guide refinements, ensuring the product is intuitive, engaging, and aligned with business goals.
High-fidelity prototypes are also crucial for demonstrating animations and haptics to developers. These elements—such as hover states, page transitions, loading effects, and tactile feedback for mobile experiences—play a significant role in enhancing the product’s overall usability and engagement. Using Figma as a prototyping tool allows me to showcase these interactions effectively before handing off the design for development.
Another key aspect of this stage is ensuring accessibility compliance. Verifying that contrast ratios, text sizes, keyboard navigability, and screen reader compatibility meet WCAG standards, ensuring that the product is inclusive for all users.
By the end of the high-fidelity prototyping phase, the product design is fully tested, validated, and ready for development. The prototype serves as a blueprint for developers, providing clear specifications, interaction guidelines, and visual assets to ensure a smooth transition from design to a functional product. The final stage ends with a handoff to the development team.
Handoff
The last step is to hand off the design to developers, ensuring they have everything they need to build the product accurately.
I provide well-organized design files and a specifications and functionality sheet, outlining every interaction, animation, and accessibility consideration.
I stay actively involved during development, conducting design QA to review builds, catch inconsistencies, and ensure the final product matches the original vision.
Design QA
Even after the design is handed off, my job as a designer isn’t done. Design QA (Quality Assurance) is where I ensure that the final product matches the original vision and functions exactly as intended.
This phase is all about attention to detail. Developers rely on design files, but things can sometimes get lost in translation—whether it’s spacing inconsistencies, incorrect typography, or missing animations. I work closely with developers to review implemented designs, test interactions, and ensure the product meets the original specifications.
I use tools like Figma Inspect, Zeplin, or Storybook to track spacing, font sizes, and layout accuracy. Regular design reviews and developer syncs help catch and resolve visual inconsistencies early, reducing last-minute rework.
Another major part of this phase is accessibility testing. I check that color contrast meets WCAG standards, confirm keyboard navigability, and ensure that screen readers interpret content correctly. Small details like hover states, focus indicators, and tap targets make a big difference in usability.
Finally, I document any issues using bug-tracking platforms like Jira or Trello, keeping a structured list of design fixes and working with developers to implement them efficiently.
By staying involved in post-handoff QA, I make sure that the product not only looks great but also functions smoothly and inclusively for all users.
Post-launch evaluation and optimization
Launching a product is a huge milestone, but design doesn’t stop when the product goes live. After launch, I shift my focus to analyzing user feedback, tracking performance, and refining the experience based on real-world usage.
The first step is gathering quantitative and qualitative insights. I look at user behavior through analytics tools like Google Analytics, Mixpanel, or Hotjar, tracking key metrics such as drop-off rates, navigation patterns, and feature engagement. If users struggle with a particular flow or frequently abandon a process, that’s a clear sign of a usability issue.
On the qualitative side, I collect user feedback through surveys, support tickets, and direct interviews. This helps uncover frustrations that aren’t always obvious in analytics data.
With these insights, I work with the team to prioritize UX improvements and feature enhancements. Whether it’s tweaking a workflow, improving accessibility, or optimizing performance, the goal is to make sure the product continues to evolve based on user needs.
A great product isn’t just built and launched—it’s continuously refined. The best designs come from iteration, and I always see post-launch as an opportunity to optimize and future-proof the experience.
Conclusion
For me, product design is about more than just making things look good—it’s about problem-solving, usability, and creating meaningful experiences. By following this structured approach, I ensure that every product I design is not just functional but also intuitive, scalable, and user-centered.
Design doesn’t stop at launch, and neither does learning. I constantly refine my process, stay up to date with new tools, and adapt to different challenges. Ultimately, my goal is to build products that truly make a difference—whether it’s improving efficiency, accessibility, or user engagement.
This process has helped me craft high-impact digital experiences, and I’m excited to keep pushing my design thinking further. 🚀
Get design articles like this straight to your inbox
No spam, unsubscribe at any time